- Nederlands, Belgique / België
- Česky, Česká republika
- Deutsch, Deutschland
- Español, España
- Português, Portugal
- English, Europe
- Français, France
- Italiano, Italia
- Magyar, Magyarország
- Nederlands, Nederland
- Deutsch, Österreich
- Polski, Polska
- Română, România
- Suisse / Schweiz / Svizzera
- Svenska, Sverige
- Suomeksi, Suomi
- Türkçe, Türkiye
- English, United Kingdom
- Slovenská, Slovak
-
Worldwide
- All Small Tools
- Calipers
- Micrometers & Micrometer Heads
- Inside Measuring Instruments
- Depth Measuring Instruments
- Height Gauges
- Indicators & Caliper Gauges
- Calibration Instruments
- Gauge Blocks
- Auxiliary Equipment
- Toolkits
- All CMM
- Small & Medium sized CMMs
- In-line & Shopfloor CMMs
- Large sized CMMs
- CMM Rotary Tables
- Probes
- Styli
- CMM Software
- Fixtures and Loading Systems
- Accessories
- SmartMeasure-AL
- All Vision
- Manual 2D Vision Systems
- Manual 3D Vision Systems
- 2D Vision System - QM-Fit
- 3D CNC Vision Systems
- 3D CNC Multi-sensor Vision Systems
- 3D CNC Micro Geometry Vision Systems
- Vision System Software
- Vision System Accessories
- All Optical
- Magnifiers
- Measuring Projectors
- Measuring Microscopes
- Microscope Units
- Objective Lenses
- TAGLENS
- All Hardness
- Portable Hardness Testers
- Rockwell Testers
- Vickers Testers
- Micro-Vickers Testers
- Hardness Testing Software
- Reference materials and indenters
- All Sensors
- Linear Gauges
- Low Force Gauges
- Counters and Display Units
- Laser Scan Micrometers
- Surface Measure
- Sensor Management Software
- All Data Management
- Data Management Software
- Mini Processors
- Signal Cables
- Wireless Communication
- Interfaces
- Timerbox, Digimatic Switch Box, Tolerance Box
- Micrometers & Micrometer Heads
- Digital & Mechanical Micrometers
- Micrometer Accessories
- Micrometer Heads
- Micrometer Head Accessories
- Inside Measuring Instruments
- Inside Micrometers
- Bore Gauges
- Inside Micrometer & Bore Gauge Accessories
- Indicators & Caliper Gauges
- Digital Indicators
- Indicator Accessories
- Lever Indicators
- Dial Indicators
- Dial Test Indicators Accessories
- Thickness, Caliper & Tension Gauges
- Gauge Blocks
- Steel Gauge Block Sets
- Steel Individual Gauge Blocks
- Ceramic Gauge Block Sets
- Ceramic Individual Gauge Blocks
- Special Gauge Blocks
- Gauge Block Accessories
- Small & Medium sized CMMs
- Manual CRYSTA-KM 565
- CRYSTA-Apex V - 500, 700, & 900 Series
- CRYSTA-Apex V - 1200, 1600 & 2000 Series
- CRYSTA-Apex EX Series for REVO
- STRATO-Active Series
- STRATO-Apex - 500, 700, & 900 Series
- STRATO-Apex - 1600 Series
- LEGEX Series
- Styli
- Styli Kits
- Straight Styli
- Diamond Coated Styli
- Master Ball
- Machine Tool Styli
- Star Styli
- Styli for Star Styli
- Cylinder Styli
- Disk Styli
- Tip Styli
- Extensions
- Holders
- Adapters
- Joints
- Screws for Cubes
- Tools
- StyliCleaner
- Fixtures and Loading Systems
- Standard Fixturing Kits
- Eco-Fix Kits
- Custom Fixtures from MGT
- Custom Loading Systems from MGT
- 3D CNC Vision Systems
- Quick Vision ACTIVE
- Quick Vision APEX / HYPER
- Quick Vision ACCEL
- Quick Vision ULTRA
- Measuring Projectors
- PJ Series
- PV Series
- PH Series
- M2 Software
- Data Processing Unit
- Edge Detection Sensor
- Accessories
- Measuring Microscopes
- TM Series Gen. B
- MF Series Gen. D
- MF-U Series Gen. D
- Illumination Sources
- Vision Unit
- QSPAK-VUE Software
- Objective Lenses
- ML-Series Objectives
- Brightfield Observation Objectives
- Brightfield/Darkfield Observation Objectives
- NIR Objectives
- NIR LCD Objectives
- NUV Objectives
- NUV LCD Objectives
- UV Objectives
- UV LCD Objectives
- Surface Roughness
- Surftest SJ-220
- Surftest SJ-310
- Surftest SJ-410
- Surftest SJ-500
- Surftest SJ-500P
- Surftest SV-2100P
- Formtracer Avant FTA-S3000
- Surftest Extreme SV-3000CNC
- Surftest Extreme SV-M3000CNC
- Surface Roughness & Contour
- Formtracer Avant FTA-D3000 / FTA-D4000 Series
- Formtracer CS-3300
- Formtracer Extreme SV-C4500CNC
- Formtracer Extreme SV-C4500CNC HYBRID Type 1
- Formtracer Extreme CS-5000CNC and CS-H5000CNC
- Micro-Vickers Testers
- Manual Micro-Vickers Testers
- Semi-Automatic Micro-Vickers Testers
- Automatic Micro-Vickers Testers
- Reference materials and indenters
- Hardness reference materials
- Hardness indenters and replacement balls
- Linear Gauges
- ABSOLUTE Digimatic Linear Gauge LGS Series
- Air Drive Unit
- Linear Gauge LG100 Series
- Linear Gauge LG200 Series
- Laser Hologauge
- Counters and Display Units
- EJ Counter and Interfaces for Linear Gauges
- EC Counter for Linear Gauges
- EG Counter for Linear Gauges
- EB Counter for Linear Gauges
- EH Counter for Linear Gauges
- EV Counter for Linear Gauges
- Display Unit for EV Counter
- Laser Scan Micrometers
- Laser Scan Micrometer Measuring Unit and Display Unit Package
- Laser Scan Micrometer Measuring Unit
- Laser Scan Micrometer
- Laser Scan Micrometer Display Unit
- Laser Scan Micrometer Optional Accessories
- DRO Linear Scales and Counters
- DRO Linear Scales AT103
- DRO Linear Scales AT103 - High Accuracy
- DRO Linear Scales AT113
- DRO Linear Scales AT113 - High Accuracy
- DRO ABS Linear Scales AT715
- Universal DRO KA-200 Counter
- NC Linear Scales
- NC Linear Scales ST36
- NC Linear Scales ST46-EZA
- NC Linear Scales ABS ST700
- NC Linear Scales ABS ST1300
- NC Linear Scales AT211
- NC Linear Scales ABS AT1100
- NC Linear Scales ABS AT1300
- Scale Units
- Horizontal ABSOLUTE Scale Coolant Proof IP66
- Horizontal ABSOLUTE Scale Standard
- Horizontal ABSOLUTE Scale Measurement Direction Switching
- Horizontal ABSOLUTE Scale Diameter Function
- Vertical ABSOLUTE Scale Standard
- Vertical ABSOLUTE Scale Measurement Direction Switching
- Vertical ABSOLUTE Scale Diameter Function
- Signal Cables
- USB Input Tool Direct (Digimatic-USB Cable)
- Digimatic Data Cables
- Digimatic Extension Cables
- Wireless Communication
- Wireless Communication System U-WAVE
- U-WAVE Bluetooth
- U-WAVE-T Connection Cables and Connection Units
 Aerospace
Complex aerospace applications need fast, extremely precise quality control to ensure accurate assemblies. See how Mitutoyo makes it happen
 Automotive
The automotive industry continues to innovate, and Mitutoyo delivers the advanced inspection and scanning capabilities to help manufacturers achieve ongoing production
 Energy
Mitutoyo’s measurement and analysis solutions are designed to help energy providers improve reliability and increase equipment uptime.
 Medical
To protect patient well-being, medical applications require exceptional accuracy. See how extensively tested solutions from Mitutoyo can help you achieve it.
 Electronics
The non-contact and vision measurement solutions from Mitutoyo bring microscopic accuracy to smaller and denser electronic components
 Original Equipment Manufacturers
Mitutoyo OEM can address missing expertise or resources by supplying you with our renowned Metrology equipment that seamlessly integrates into your products.
 UKAS Calibration
Our UKAS accredited laboratory can handle all your metrology needs.
 Subcontract Measurement
A full range of subcontract measurement, reporting and programming services.
 Training
Specialist in-house and on-site courses covering all types of metrology.
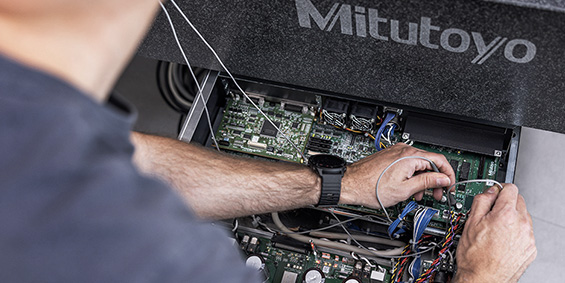 Service Contracts
Anticipate your maintenance costs and provide savings on future upgrades.
 IT Support
Offering essential maintenance, software upgrades and hardware replacement whilst minimising critical downtime.
 Repairs & Spare Parts
Our purpose built repair and calibration facility is home to skilled and certified technicians.
 FREE Education Pack
A range of education literature designed to serve as convenient references to dimensional metrology.
 Metrology Handbook
Aimed at anyone interested in gaining an understanding of the fundamentals of dimensional metrology.
 E-Learning
For those interested in metrology, Mitutoyo offers E-Learning courses to help train students, staff, or even hobbyists.
 Mitutoyo Worldwide
The world's biggest metrology company
 Mitutoyo in the UK
Mitutoyo have four facilities offering a wide range of services in the UK.
 EKO House
An important key to understanding Mitutoyo's company philosophy is the EKO house donated by company founder Yehan Numata.
 Promotions & Discounts
Discover the latest product and service promotional deals and discounts available.
 Case Studies
For an overview of Mitutoyo's capabilities, take a to look over our collection of case studies.
 Newsletter
Sign up to our eNewsletter and you could win a Metrology Pack!
 Product Catalogue
View our extensive product range in our online UK catalogue.
 Software & Updates
Download our software and updates easily and conveniently. (EU website )🇪🇺
 Declarations of Conformity
Here you can download the full versions for the EU and the UK.
 Virtual Showroom
Experience our interactive virtual showroom.
 Newsletter
Sign up to our eNewsletter and you could win a Metrology Pack!
-
Products
- Back Products
- Products
-
Small Tools
- Back Small Tools All Small Tools
- Calipers
-
Micrometers & Micrometer Heads
- Back Micrometers & Micrometer Heads Micrometers & Micrometer Heads
- Digital & Mechanical Micrometers
- Micrometer Accessories
- Micrometer Heads
- Micrometer Head Accessories
-
Inside Measuring Instruments
- Back Inside Measuring Instruments Inside Measuring Instruments
- Inside Micrometers
- Bore Gauges
- Inside Micrometer & Bore Gauge Accessories
-
Depth Measuring Instruments
- Back Depth Measuring Instruments Depth Measuring Instruments
- Depth Micrometers
- Depth Calipers & Gauges
- Depth Caliper Accessories
- Height Gauges
- Indicators & Caliper Gauges
-
Calibration Instruments
- Back Calibration Instruments Calibration Instruments
- Height Masters
- Check Masters
- Calibration Tools
- Gauge Blocks
- Auxiliary Equipment
- Toolkits
-
CMM
- Back CMM All CMM
- Small & Medium sized CMMs
-
In-line & Shopfloor CMMs
- Back In-line & Shopfloor CMMs In-line & Shopfloor CMMs
- MACH Ko-ga-me
- MACH 3A 653
- MACH V 9106
- MiSTAR 555
-
Large sized CMMs
- Back Large sized CMMs Large sized CMMs
- CARB-Series
-
CMM Rotary Tables
- Back CMM Rotary Tables CMM Rotary Tables
- MRT240 Rotary Table
- MRT320 Rotary Table
- Probes
- Styli
-
CMM Software
- Back CMM Software CMM Software
- MiCAT Planner
- MCOSMOS
- MAFIS Express
- MSURF
-
Fixtures and Loading Systems
- Back Fixtures and Loading Systems Fixtures and Loading Systems
- Standard Fixturing Kits
- Eco-Fix Kits
- Custom Fixtures from MGT
- Custom Loading Systems from MGT
- Accessories
- SmartMeasure-AL
-
Vision
- Back Vision All Vision
-
Manual 2D Vision Systems
- Back Manual 2D Vision Systems Manual 2D Vision Systems
- Quick Image
- Quick Image Software
-
Manual 3D Vision Systems
- Back Manual 3D Vision Systems Manual 3D Vision Systems
- Manual Quick Scope
- Quick Scope Software
- 2D Vision System - QM-Fit
-
3D CNC Vision Systems
- Back 3D CNC Vision Systems 3D CNC Vision Systems
- Quick Vision ACTIVE
- Quick Vision APEX / HYPER
- Quick Vision ACCEL
- Quick Vision ULTRA
-
3D CNC Multi-sensor Vision Systems
- Back 3D CNC Multi-sensor Vision Systems 3D CNC Multi-sensor Vision Systems
- Quick Vision Hybrid
- Quick Vision WLI
-
3D CNC Micro Geometry Vision Systems
- Back 3D CNC Micro Geometry Vision Systems 3D CNC Micro Geometry Vision Systems
- UMAP Vision Systems
- UMAP Software
-
Vision System Software
- Back Vision System Software Vision System Software
- QVPAK
- QSPAK
- QIPAK
- Vision System Accessories
-
Optical
- Back Optical All Optical
-
Magnifiers
- Back Magnifiers Magnifiers
- Pocket Comparator
- Clear Loupes
-
Measuring Projectors
- Back Measuring Projectors Measuring Projectors
- PJ Series
- PV Series
- PH Series
- M2 Software
- Data Processing Unit
- Edge Detection Sensor
- Accessories
- Measuring Microscopes
-
Microscope Units
- Back Microscope Units Microscope Units
- Microscope Unit FS70 Series
- Video Microscope Unit VMU Series
- Objective Lenses
- TAGLENS
- Form
-
Hardness
- Back Hardness All Hardness
-
Portable Hardness Testers
- Back Portable Hardness Testers Portable Hardness Testers
- Leeb Hardness Testing HH-V400
- Digital and Analogue Durometers HH-300
-
Rockwell Testers
- Back Rockwell Testers Rockwell Testers
- Manual Machines
- Semi Automatic Machines
- Automatic Machines
-
Vickers Testers
- Back Vickers Testers Vickers Testers
- Manual Testers
- Semi Automatic Testers
- Automatic Testers
- Micro-Vickers Testers
-
Hardness Testing Software
- Back Hardness Testing Software Hardness Testing Software
- AVPAK
-
Reference materials and indenters
- Back Reference materials and indenters Reference materials and indenters
- Hardness reference materials
- Hardness indenters and replacement balls
- Sensors
-
Digital Scales
- Back Digital Scales All Digital Scales
- DRO Linear Scales and Counters
- NC Linear Scales
-
Scale Units
- Back Scale Units Scale Units
- Horizontal ABSOLUTE Scale Coolant Proof IP66
- Horizontal ABSOLUTE Scale Standard
- Horizontal ABSOLUTE Scale Measurement Direction Switching
- Horizontal ABSOLUTE Scale Diameter Function
- Vertical ABSOLUTE Scale Standard
- Vertical ABSOLUTE Scale Measurement Direction Switching
- Vertical ABSOLUTE Scale Diameter Function
-
Data Management
- Back Data Management All Data Management
-
Data Management Software
- Back Data Management Software Data Management Software
- MeasurLink 10
- USB-ITPAK
-
Mini Processors
- Back Mini Processors Mini Processors
- Digimatic Mini Processor DP-1VA LOGGER
- Signal Cables
- Wireless Communication
- Interfaces
-
Timerbox, Digimatic Switch Box, Tolerance Box
- Back Timerbox, Digimatic Switch Box, Tolerance Box Timerbox, Digimatic Switch Box, Tolerance Box
- Digimatic Timerbox
- Digimatic Switch Box
-
Software
- Back Software All Software
-
CMM Software
- Back CMM Software CMM Software
- MiCAT Planner
- MCOSMOS
- MAFIS-Express
- MSURF
- Vision System Software
-
Form Software
- Back Form Software Form Software
- Formtracepak
- Roundpak
- Hardness Testing Software
- Sensor Management Software
-
Data Management Software
- Back Data Management Software Data Management Software
- Measurlink 10
- USB-ITPAK
- Bespoke
- Automated Measuring Devices
- Industries
-
Services
- Back Services
- Services
-
Bespoke Solutions
- Back Bespoke Solutions
- Bespoke Solutions
- UKAS Calibration
-
Subcontract Measurement
- Back Subcontract Measurement
- Subcontract Measurement
- Training
- Service Contracts
- IT Support
- Repairs & Spare Parts
- Support
- Education
-
Corporate
- Back Corporate
- Corporate
-
Mitutoyo Worldwide
- Back Mitutoyo Worldwide
- Mitutoyo Worldwide
- Name & Philosophy
- Factory Tours
- Mitutoyo Corporation
-
Mitutoyo History
- Back Mitutoyo History
- Mitutoyo History
- Mitutoyo in Europe
- Global Gateway
-
Mitutoyo in the UK
- Back Mitutoyo in the UK
- Mitutoyo in the UK
- Job Opportunities
- Certifications & Accreditations
- Sustainability
- EKO House
-
News
- Back News
- News
-
Events & Exhibitions
- Back Events & Exhibitions
- Events & Exhibitions
-
Promotions & Discounts
- Back Promotions & Discounts
- Promotions & Discounts
- Case Studies
- Newsletter
-
Resources
- Back Resources
- Resources
-
Product Literature
- Back Product Literature
- Product Literature
- Product Catalogue
- Software & Updates
- Declarations of Conformity
- Virtual Showroom
- Newsletter
AUTOMOTIVE
There are several important aspects to look at when it comes to inspecting different parts of vehicles and equipment in the automotive industry. Similar to how different parts play their own role in how the final machine operates and functions, various types of quality control are needed depending on what needs to be checked.
Regardless of the quality resulting from skilled work, there are things such as operating safety, lifetime, and overall cost that can be observed and improved during the manufacturing process.
Common Parts Passing Through Quality Assurance in the Automotive Industry
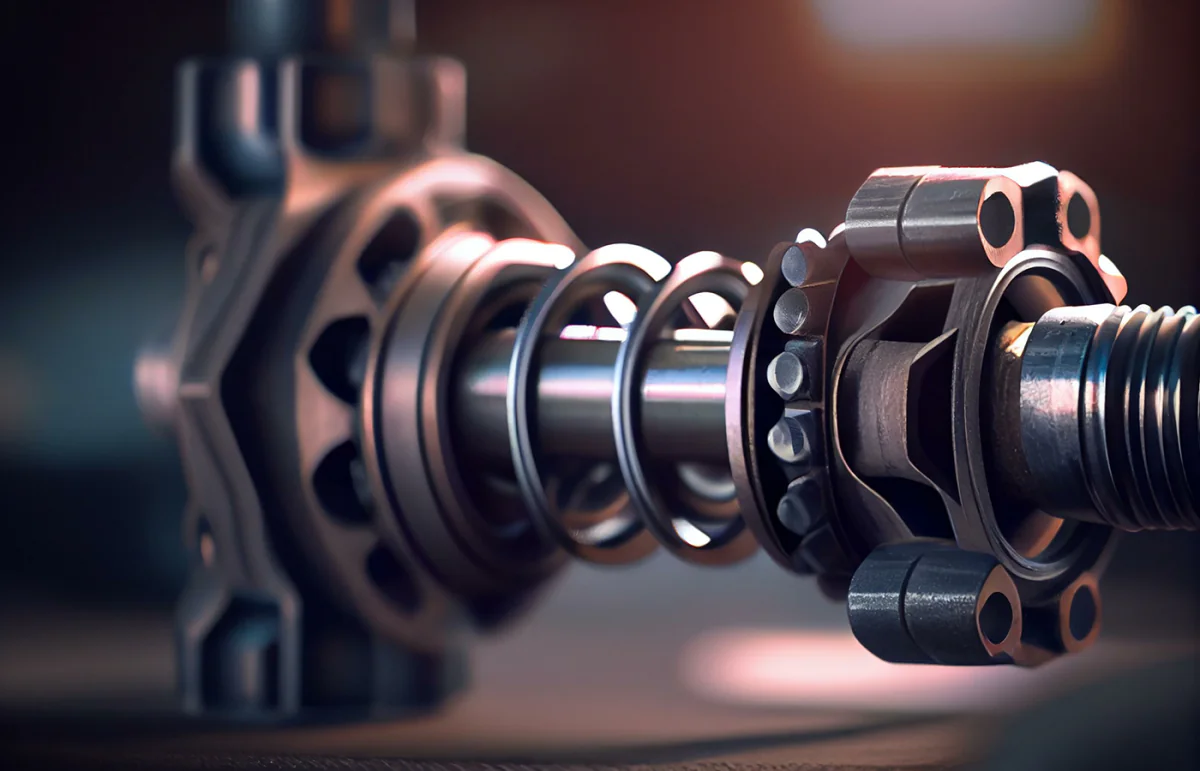
Shafts & Bearings
A car shaft, also known as a drive shaft or propeller shaft, is a mechanical component that transmits torque and rotation from the engine to the wheels of a car. It is a cylindrical rod that connects the transmission output shaft to the differential input shaft, allowing the power from the engine to be transferred to the wheels. Typically made of steel, it is designed to withstand the high amount of force generated by the engine, thus making quality control extremely important.
Supporting the rotating shafts and axles in a car, bearings reduce the amount of friction and allow smooth movement of the parts. It is a type of rolling or sliding element that is designed to withstand the weight and forces it encounters when in contact with these rotating parts. Overall, these components play a critical role in the smooth and efficient operation of a car’s mechanical systems, helping to reduce friction and wear. To perform optimally, advanced measurement and analysis are required during each step of the production process.
Quality Control Techniques

Gears
In an automotive system, gears are typically used in transmissions, differentials, and transfer cases. As each of these plays a key role in transferring the force of the engine to the wheels, detailed inspection and testing are required to ensure that they perform their job correctly. Automotive gears come in a variety of shapes and sizes, depending on their intended use. The most common types of gears used in automotive systems are spur gears, helical gears, and bevel gears.
Quality Control Techniques
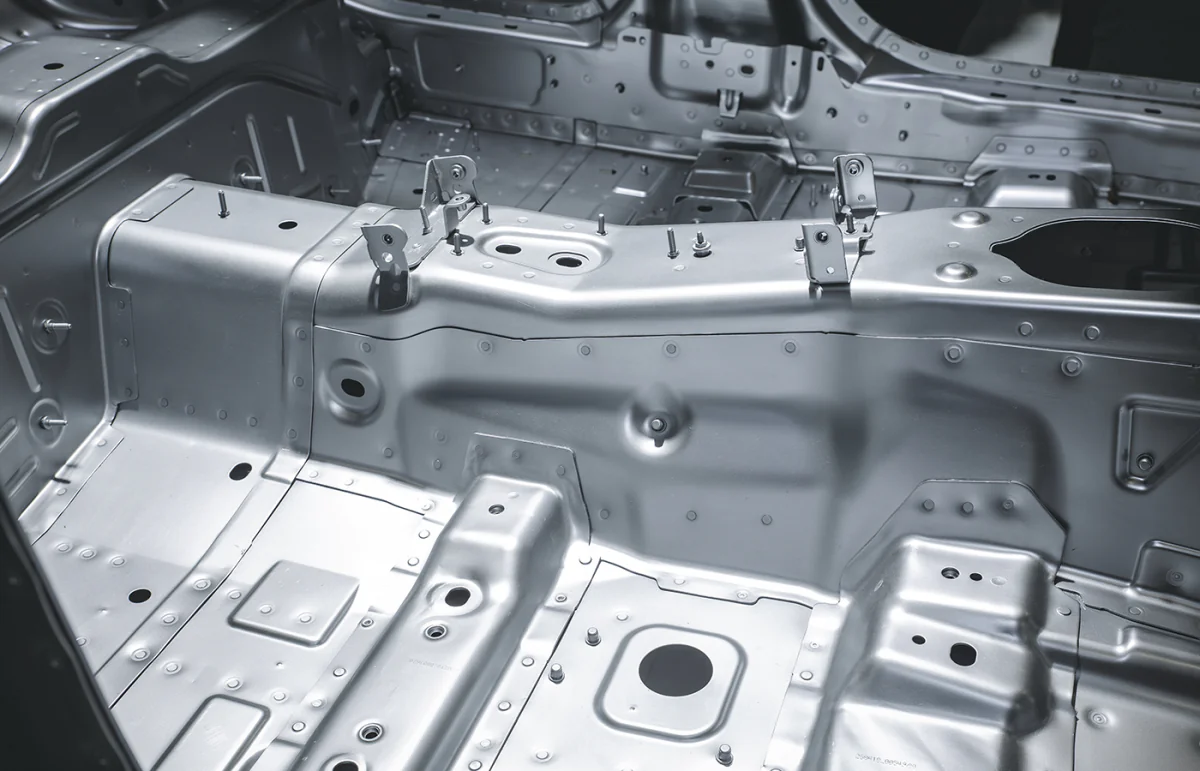
Car Body
More than what you just see on the outside of a car, the car body is the outer shell that encloses the internal components of a vehicle. Typically made of steel, aluminum, or composite materials, it serves several functions like protecting the occupants from external elements, providing a rigid structure for the vehicle, and housing various mechanical, and electrical components. Making it one of the most important parts of every vehicle you find on the road today.
Quality Control Techniques
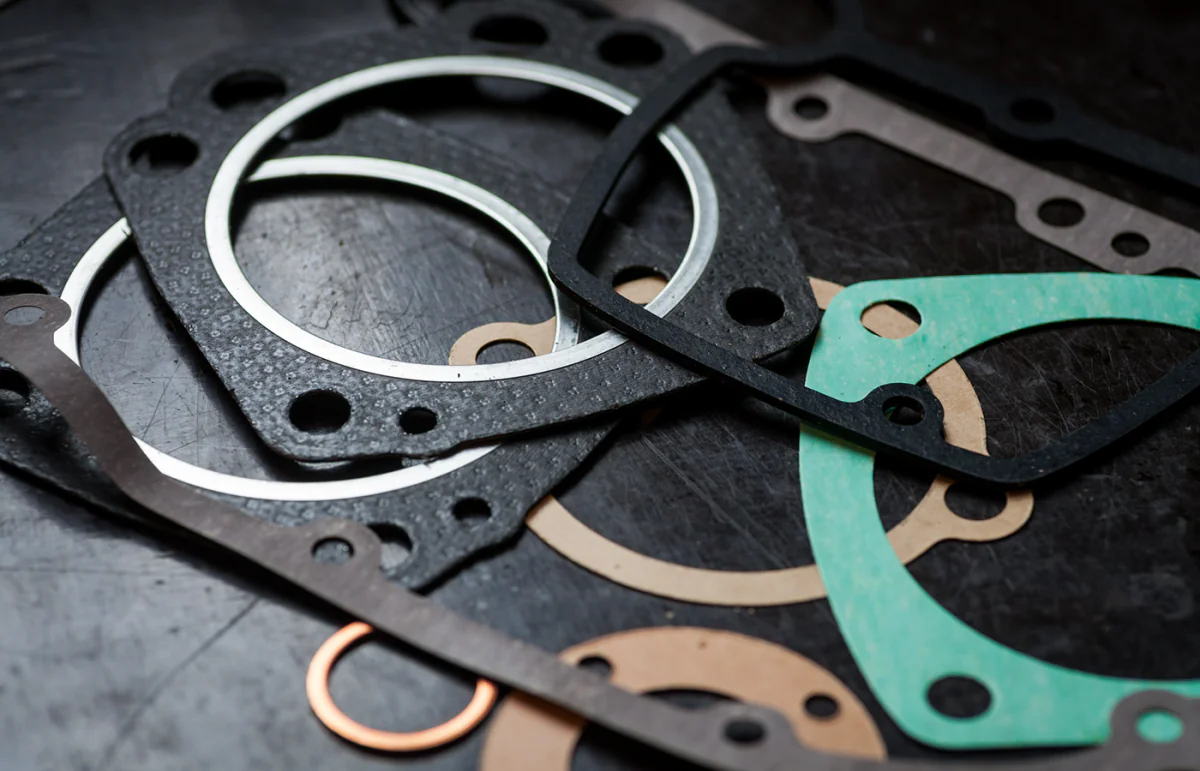
Gaskets
Gaskets are commonly used throughout various industries as a device to prevent fluid or gas leakage between two or more mating surfaces. They are typically made of a compressible material such as rubber or silicone and are placed between the coupled surfaces to create a tight seal.
In regards to use in automotive vehicles, they are often located in the construction of engine blocks, cylinder heads, exhaust systems, and transmission systems. They are critical components that help ensure the proper functioning of the engine and other systems by maintaining proper pressure through the prevention of leaks.
Quality Control Techniques
ELECTRIC VEHICLES
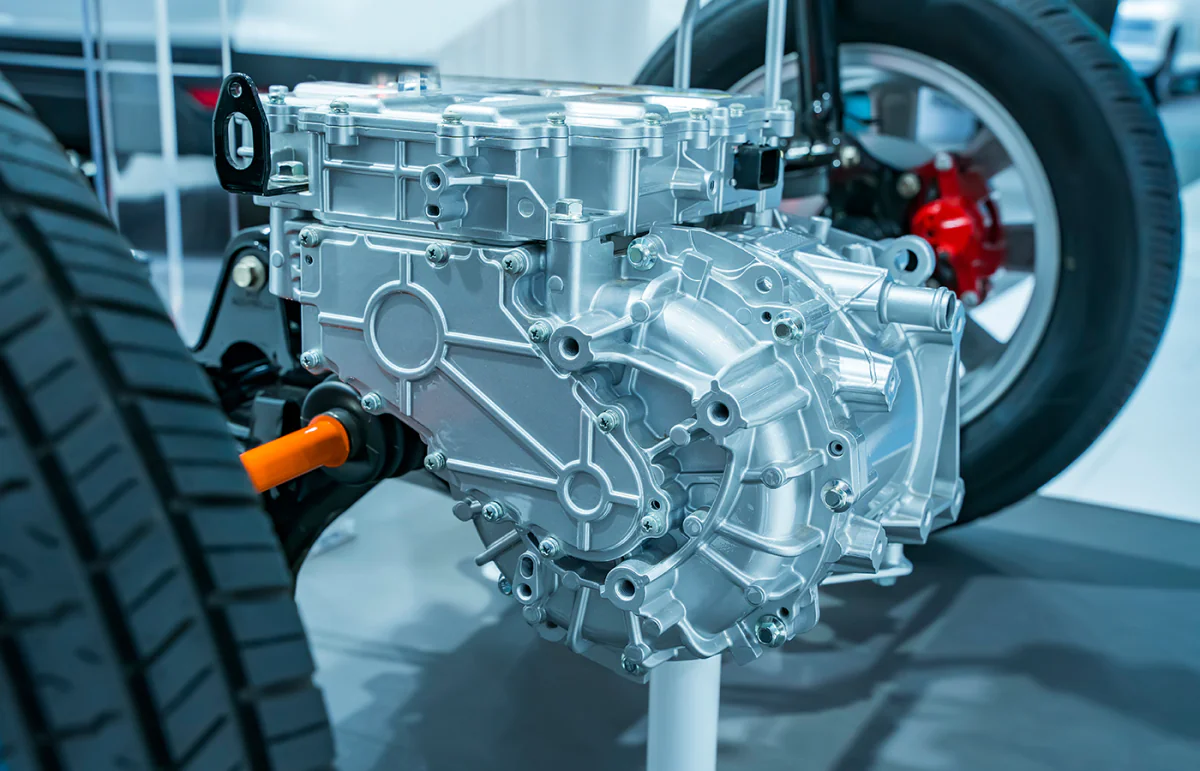
Electric Motor Housing
Electric motor housing is an extremely important part found in both hybrid and electric vehicles. The motor housing serves as a protective casing for the motor's internal components and helps dissipate heat generated during its operation.
Typically made of aluminum or other lightweight materials they are designed to be compact and efficient. The importance of its manufacturing and quality control methods is that it fits correctly with the internal and external components to prevent mechanical failure.
Quality Control Techniques
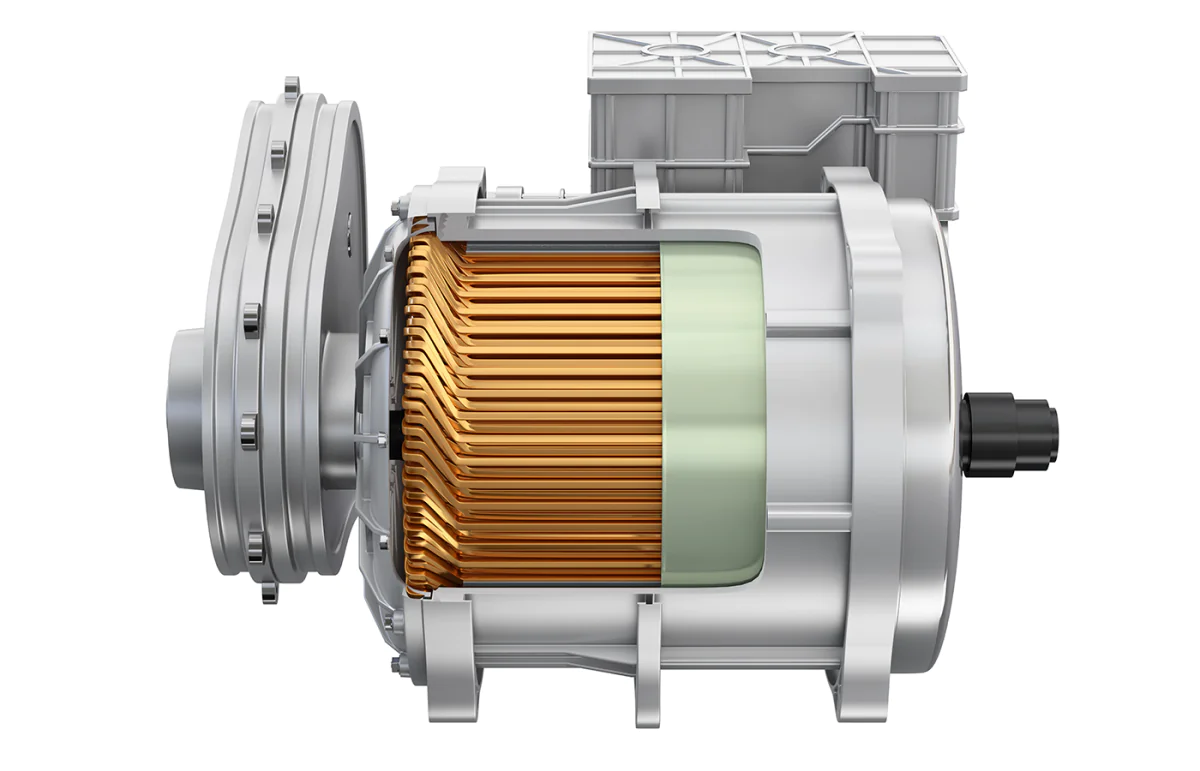
Hairpins
Hairpins, also known as hairpin stators, consist of copper or aluminum wires that are bent into a U-shape, creating two parallel branches with a common base. The wires are then inserted into slots in the stator core, creating a loop that carries current and produces the magnetic field necessary for the motor to operate.
These hairpins are a type of winding configuration for the stator, which is the stationary part of the motor that surrounds the rotor. Hairpin stators are used in permanent magnet synchronous motors (PMSMs) and induction motors for both electric and hybrid vehicles.
Quality Control Techniques

Battery Foil
Battery foil, also known as electrode foil, is a thin metal sheet found inside battery cells. It serves as the current collector for the electrode material, which is coated onto the foil's surface. The foil is typically made from materials such as aluminum, copper, or nickel, and its thickness can vary depending on the type of battery and its intended use.
Quality Control Techniques
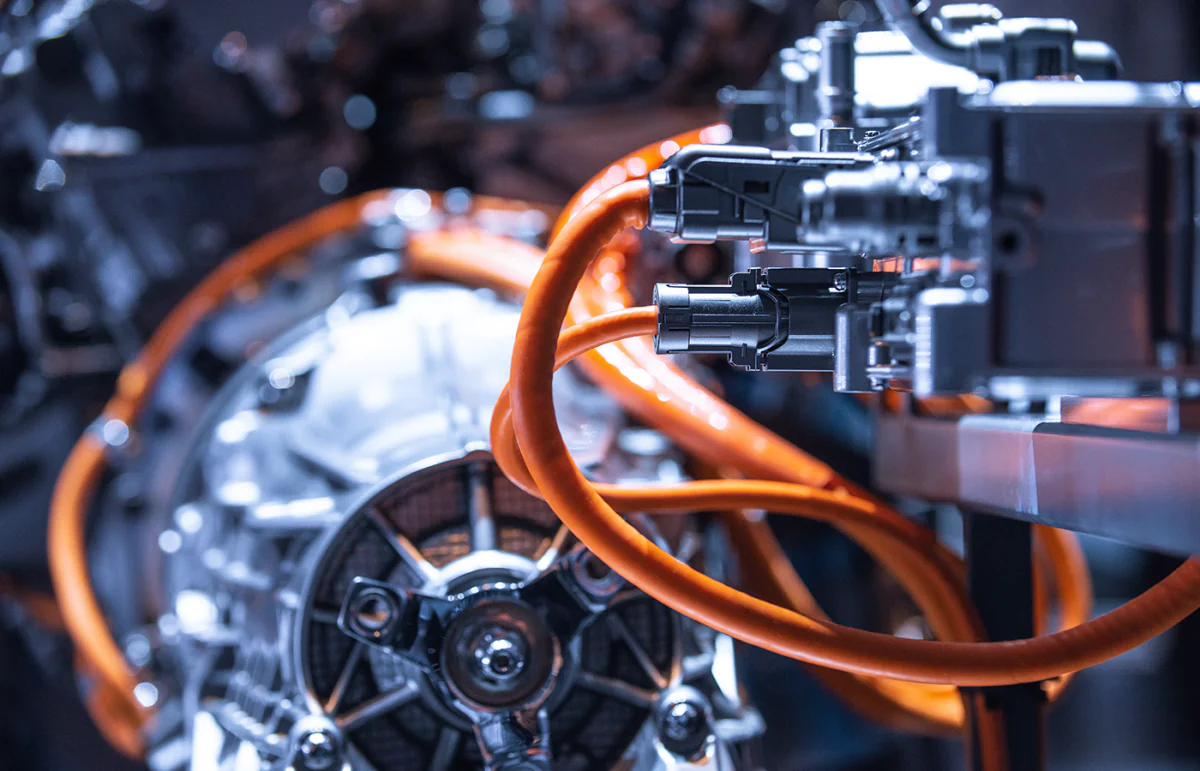
Wire
The least often thought of part of a car is wire, used in various applications such as electrical systems, sensors, and communication networks, its role is just as important as the motor. Automotive wire is designed to withstand harsh conditions such as high temperatures, vibrations, and exposure to chemicals and moisture, and thus it makes sense that rigorous quality control must be performed on it.


